| Distance (Miles): | Ascent (Metres): | Time (Hours): |
| 1.74 | 227 | 2 |
| Difficulty: | Technicality (x/10): | Enjoyability (x/10): |
| Easy | 4 | 6 |
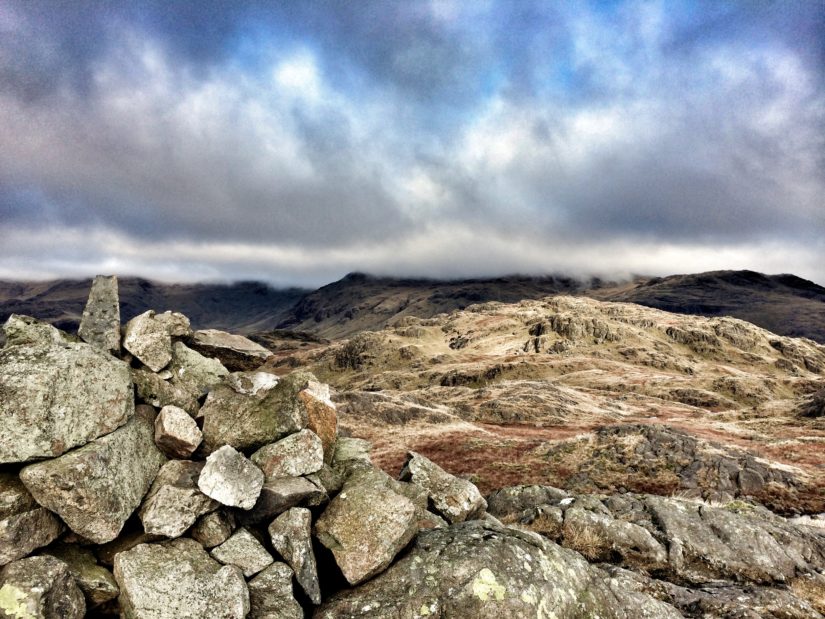
Rough Crag (Birker Moor) / Water Crag / The Knott (Stainton Fell) / White Pike (Birkby Fell) / Woodend Height / Yoadcastle / Stainton Pike / Hesk Fell / Seat How (Birker Moor)
| Distance (Miles): | Ascent (Metres): | Time (Hours): |
| 9.50 | 521 | 5 |
| Difficulty: | Technicality (x/10): | Enjoyability (x/10): |
| Moderate | 7 | 6 |
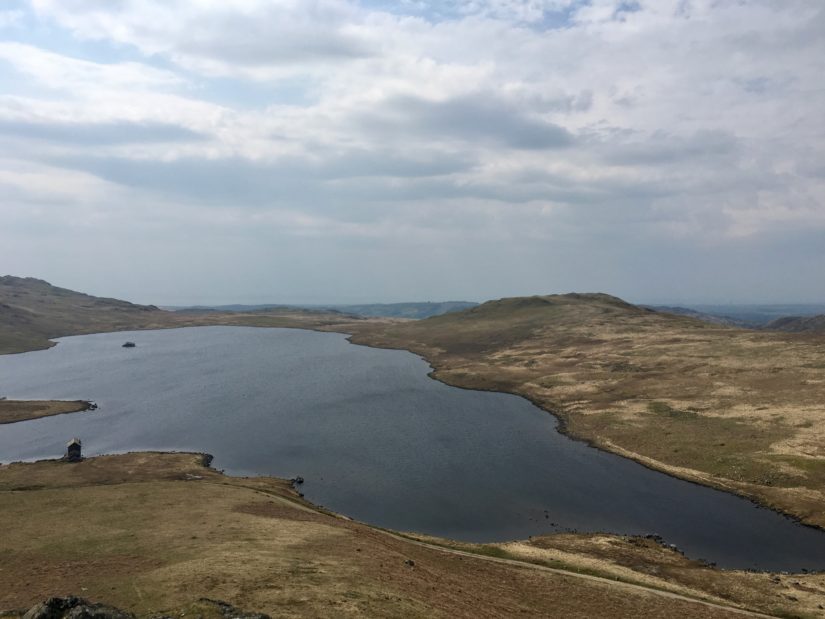
Cold Fell (Lake District) / Ponsonby Fell
| Distance (Miles): | Ascent (Metres): | Time (Hours): |
| 10.25 | 530 | 6 |
| Difficulty: | Technicality (x/10): | Enjoyability (x/10): |
| Moderate | 4 | 6 |
Birkhouse Moor / Catsty Cam / Helvellyn / Nethermost Pike / Dollywagon Pike
| Distance (Miles): | Ascent (Metres): | Time (Hours): |
| 12.55 | 1112 | 8 |
| Difficulty: | Technicality (x/10): | Enjoyability (x/10): |
| Difficult | 6 | 7 |
Continue reading Birkhouse Moor / Catsty Cam / Helvellyn / Nethermost Pike / Dollywagon Pike
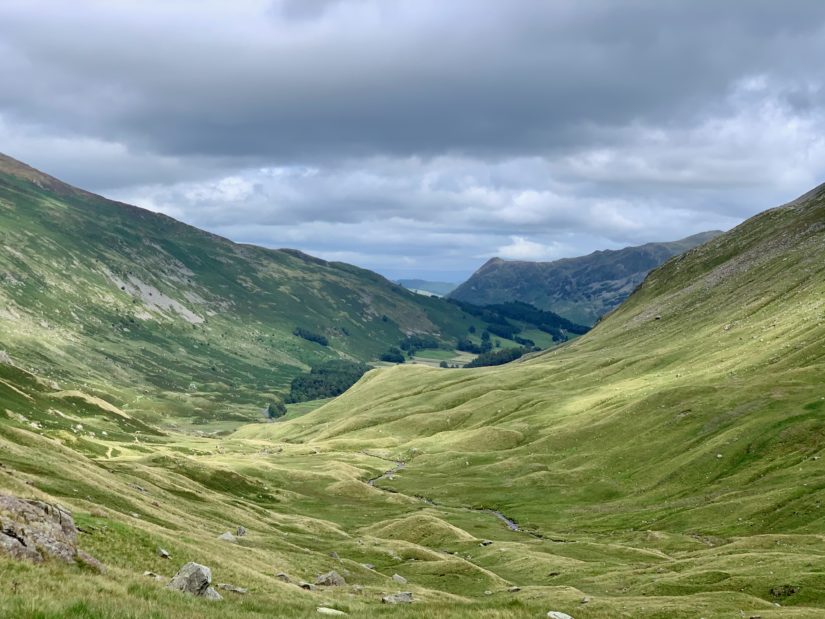
Ulgraves / Potter Fell – 2 / Potter Fell – 1 / Brunt Knott / Green Quarter / Hollow Moor / High Knott / Hugill Fell (Wainwright Summit) / Reston Scar
| Distance (Miles): | Ascent (Metres): | Time (Hours): |
| 17.15 | 970 | 9 |
| Difficulty: | Technicality (x/10): | Enjoyability (x/10): |
| Severe | 7 | 4 |