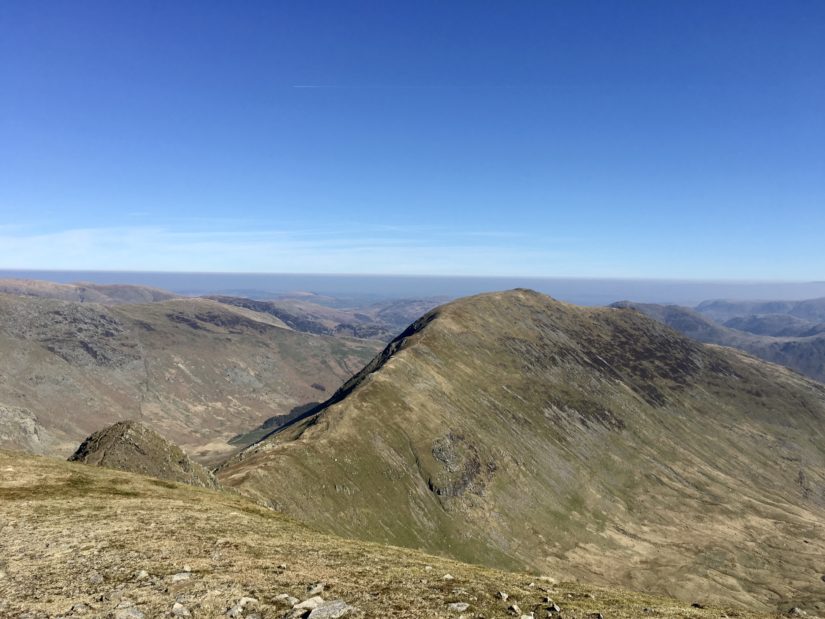
| Distance (Miles): | Ascent (Metres): | Time (Hours): |
| 9.87 | 995 | 7 |
| Difficulty: | Technicality (x/10): | Enjoyability (x/10): |
| Difficult | 5 | 8 |
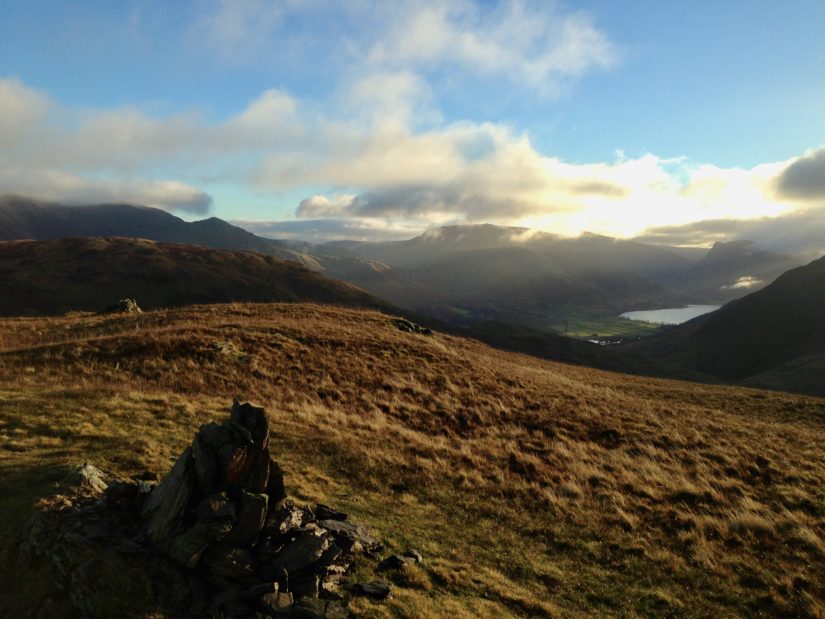
Hen Comb
| Distance (Miles): | Ascent (Metres): | Time (Hours): |
| 4.34 | 403 | 3 |
| Difficulty: | Technicality (x/10): | Enjoyability (x/10): |
| Easy | 3 | 5 |
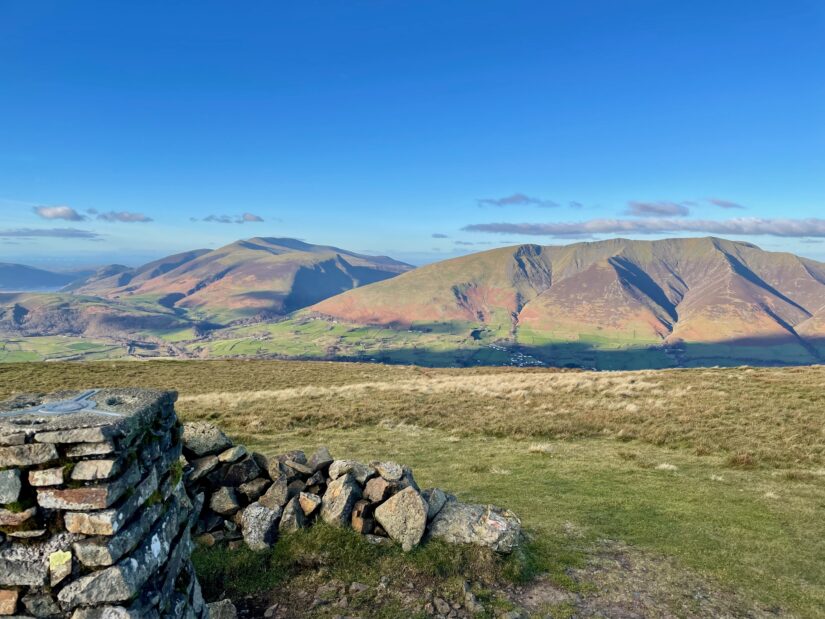
Stybarrow Dodd / Watson’s Dodd / Great Dodd / Clough Head
| Distance (Miles): | Ascent (Metres): | Time (Hours): |
| 14.43 | 1088 | 9 |
| Difficulty: | Technicality (x/10): | Enjoyability (x/10): |
| Severe | 4 | 7 |
Continue reading Stybarrow Dodd / Watson’s Dodd / Great Dodd / Clough Head
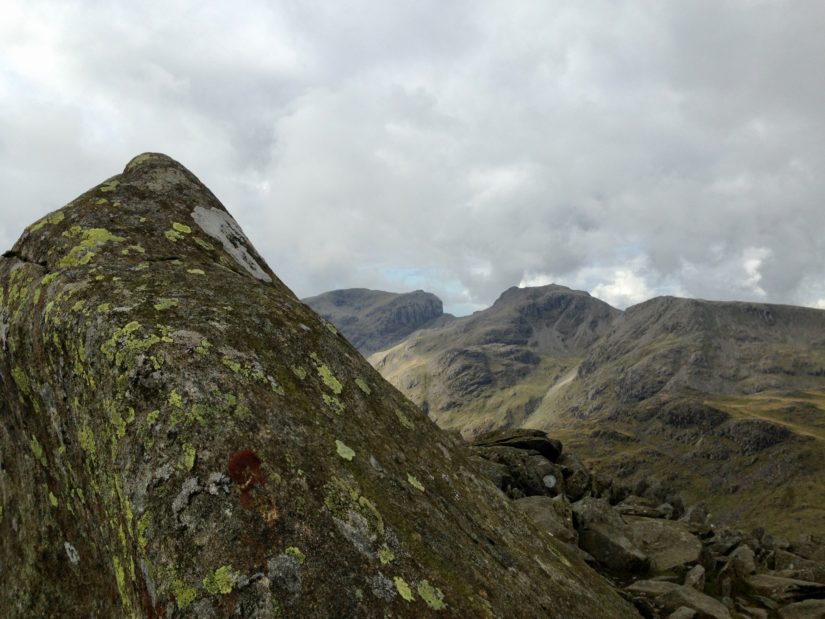
Esk Pike / Bow Fell / Shelter Crags / Crinkle Crags (Long Top) / Crinkle Crags (South Top) / Little Stand
| Distance (Miles): | Ascent (Metres): | Time (Hours): |
| 9.14 | 959 | 7 |
| Difficulty: | Technicality (x/10): | Enjoyability (x/10): |
| Difficult | 8 | 5 |
Brim Fell / Swirl How / Black Sails / Wetherlam
| Distance (Miles): | Ascent (Metres): | Time (Hours): |
| 9.59 | 1028 | 7 |
| Difficulty: | Technicality (x/10): | Enjoyability (x/10): |
| Difficult | 6 | 7 |
Continue reading Brim Fell / Swirl How / Black Sails / Wetherlam